
Your heels lift as the bar moves overhead, and you wonder whether your push press went wrong. They can leave the floor after your hips and knees fully extend. Rising onto your toes during the dip or early drive is the part to check.
CrossFit coach Eric O’Connor, CF-L4, draws that distinction in his written coaching guidance. The useful question is when your heels rise, rather than whether they ever do.
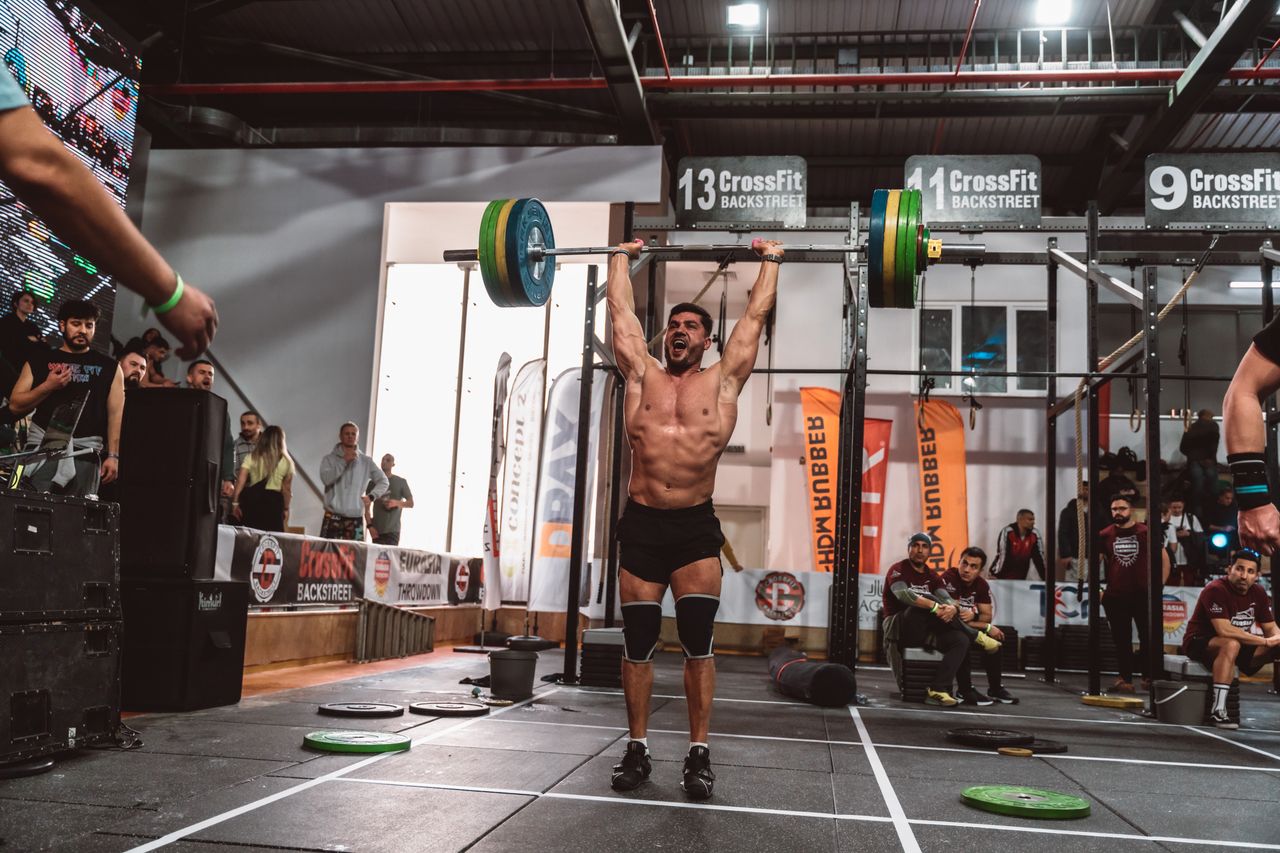
Table of contents
Check the timing, not just the lifted heel
In his April 2025 explanation, O’Connor describes accelerating through the whole foot. After full hip and knee extension, the heels may lift and return naturally as a follow-through. He generally avoids teaching a deliberate heel lift to recreational clients because mistiming it can pull them forward.
If the heels rise during the dip, his corrections include keeping them down or potentially shortening the dip. If they rise before the hips and knees extend during the drive, keeping the heels down is again the relevant cue.
That makes a cropped photo of someone’s shoes incomplete evidence. It can show a gap beneath a heel, but it leaves out the leg position and the sequence that determines which correction fits.
Rehearse the dip with a light implement
CrossFit’s push-press instruction starts with a shallow, controlled dip and an upright torso. The legs and hips then extend rapidly to launch the bar from the shoulders before the arms finish the press. This is intentional leg drive: among our overhead-press variations, the strict press uses a different approach.
For someone tipping forward in the dip, CrossFit’s progression begins by practicing the dip and holding the bottom position to check the torso. It then joins the dip and drive slowly, adds speed, and eventually restores the full movement. PVC can make that rehearsal less fatiguing than repeated loaded attempts.
The pause is a teaching step, rather than the finished push press. In the full lift, the direction changes promptly at the bottom of the dip. Practice each part with your coach before asking a heavier bar to reveal the problem.
Frame the whole lift before reviewing your feet
If you record a practice set, position the phone to the side, outside the lifting area, with your shoes, knees, hips and bar visible. An upper-body-only clip hides heel contact; a shoe close-up hides whether the legs have finished extending. Keep the camera stationary so those positions remain visible.
Review the clip after the set. Find the bottom of the dip, then follow the drive forward in time. Ask your coach to compare the moment the heel starts rising with the position of the hips and knees. A single overhead finishing frame cannot establish that order.
Show your coach the sequence you’re unsure about and ask which practice step fits it. If plates or another lifter block the view, reposition the camera between sets. An obscured clip is a reason to get a better view, rather than guess at a technical fault.